|


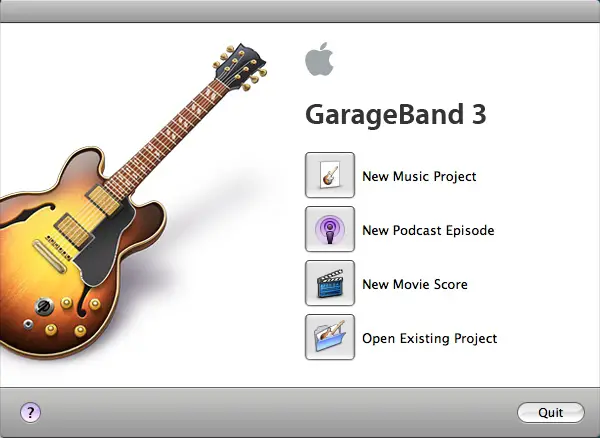
Step 3: Create a new podcast fileLooking at this screen the first time I had no idea how to create a podcast. I think the easiest way to get started is to click the File menu, then select New. This brings up a dialog that is essentially a "new project" dialog, as shown in Figure 2.
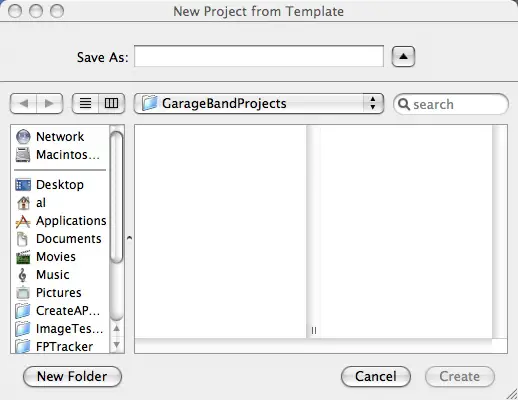
On this dialog just click the "New Podcast Episode" button. Next, GarageBand shows you the dialog shown in Figure 3:
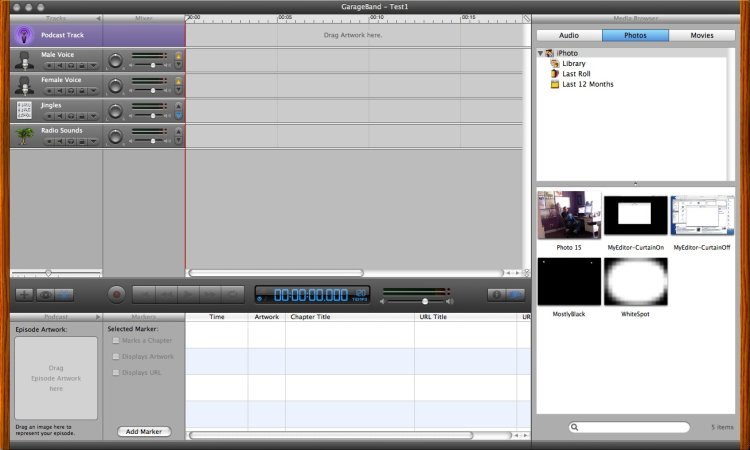
This step is also a little awkward, and a little descriptive text would help here. To give you a little context, GarageBand is essentially prompting you for the name and location of the GarageBand project file you need to create. When you're creating your first podcast the last thing you really care about is where you're going to save your project file, but this makes a little more sense once we're out of the "newbie" phase. This dialog opens up in the GarageBandProjects directory, so I just create a file with the name "Test1", then click Create. This brings up the GarageBand application, as shown in Figure 4.
Though this screen looks promising the next step is still a little uncertain. If you're like me you'll click the Podcast Track and then press the record button thinking that's the obvious next step, but unfortunately that leads to the ominous "Can't Record on this Track" error message. So, before jumping right in, let's take a quick tour of the new terrain.
|