|


Step 7: Creating a longer recordingIf everything went well you're ready to create your second recording, something a little longer. The first thing to do is to get the old recording out of our way. If you haven't done anything else, the recording should be currently selected and all you'll need to do is press the [Delete] button on your keyboard to delete this first recording. However, if you click on another area of the screen you may want to click that purple rectangle first, and then press the [Delete] button. When you do this you'll see that purple rectangle go away immediately. The next thing to do is move the playhead back to the initial starting position. Again you can do this by dragging the widget at the top of the playhead back to the starting position, or you can just click once at the starting point ("00:00") of the timeline. Either of these approaches will move the playhead back to the starting position. For your second exercise I recommend just talking for little while seeking see how the screen starts to move when you're talking, because you'll need to get comfortable with that. So go ahead and follow the steps shown previously, but instead of just saying "hello world, this is a test", go ahead and keep talking for little while, at least until you start to see the main screen scroll to the right. For your convenience, I'll repeat the recording steps here:
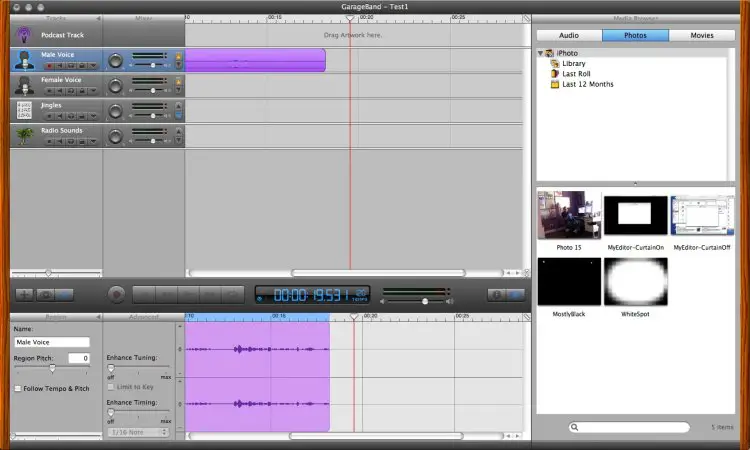
After creating a longer recording my window looks like Figure 6.
You see that when the playhead gets to the middle of the recording area the screen behind the line begin scrolling to the left. If you look at the beat ruler at the top of the recording area you'll see that this happens somewhere around the ten-second mark. Again I recommend that you just keep talking here until you're comfortable with the screen scrolling. When you feel comfortable with this go ahead and click the red record button to stop the recording. Again notice that the playhead continues moving to the right. Press the play button to stop it. At this point it may seem a little awkward that you have to press both of those buttons to stop the recording, but once you start doing more advanced things you'll see that this actually makes sense. Once again, you're probably anxious to play back your recording. You can do this by selecting the widget at the top of the playhead and moving it back to the "00:00" mark, or you can grab the scroll bar at the bottom of the screen, and slide it back to the left, and then click the "00:00" position on the beat ruler. Once the playhead is back at the starting position just click the Play button to hear your recording. Hopefully everything has once again gone well and you'll hear your recording being play back to you. You can stop the recording at any time by pressing the Play button again.
|