


Up: Introduction Previous: Initial Installation and Configuration Next: Importing a module with WinCVS
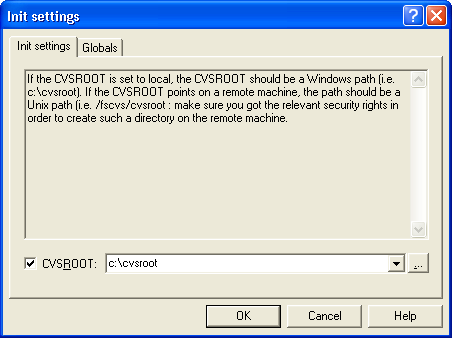
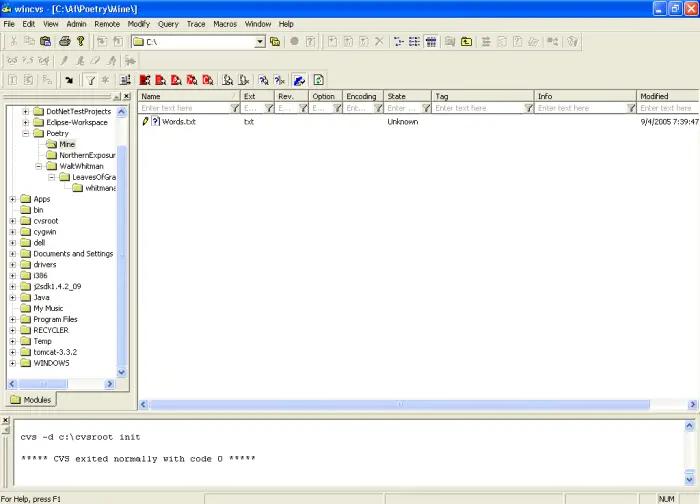
Creating a new CVS repository with WinCVSOnce you have the cvsnt server running, the first thing you need to do is create a new repository. The simple act of installing cvsnt doesn't do this for you, but it's a simple process to create this repository using WinCVS. To create the repository, start WinCVS, then click the Remote menu, and choose the "Create a new repository ..." menu item. This displays the "Init settings" dialog, as shown in Figure 1. In the CVSROOT textfield type in the name of a directory where you want your CVS repository to be created. For instance, in my case I want to have my new repository created in a directory named "C:cvsroot". Once you supply a repository name you can also look at the Globals tab, but for my needs I did not create any of these options. (Frankly, I don't think these options have anything to do with the repository. They seem more suited to checking out content than anything to do with the creation of a repository.) After clicking the OK option on this dialog you should see a success message in the main WinCVS window, as shown in 3. Congratulations, you have created a new CVS repository on your local system. You can verify that this worked correctly by opening a Windows Explorer window (not Internet Explorer, but the Windows file explorer), and navigating to the directory you wanted to use as a repository. In my case I opened Windows Explorer and went to the directory "C:cvsroot", where sure enough, my new folder was created. Now that you've created a new repository you're ready for the next step: importing your content into the repository.
Up: Introduction Previous: Initial Installation and Configuration Next: Importing a module with WinCVS |