Mac thumbnail image processing FAQ: How can I create thumbnails images for a batch of original images (or photos) in PNG, JPEG, and other file formats? (Also written as, "How can I batch create thumbnails on a Mac?")
As I mentioned in my earlier Batch image resizing tutorial, the Mac OS X Automator application has recently become a good friend of mine. Besides letting you easily resize a large batch of images very easily, the Automator also lets you easily create thumbnails for a batch of original images, whether those images are in the JPEG, PNG, or other image file formats. Here's how you do it.
1) Creating a batch of thumbnail images on Mac OS X - start the Automator
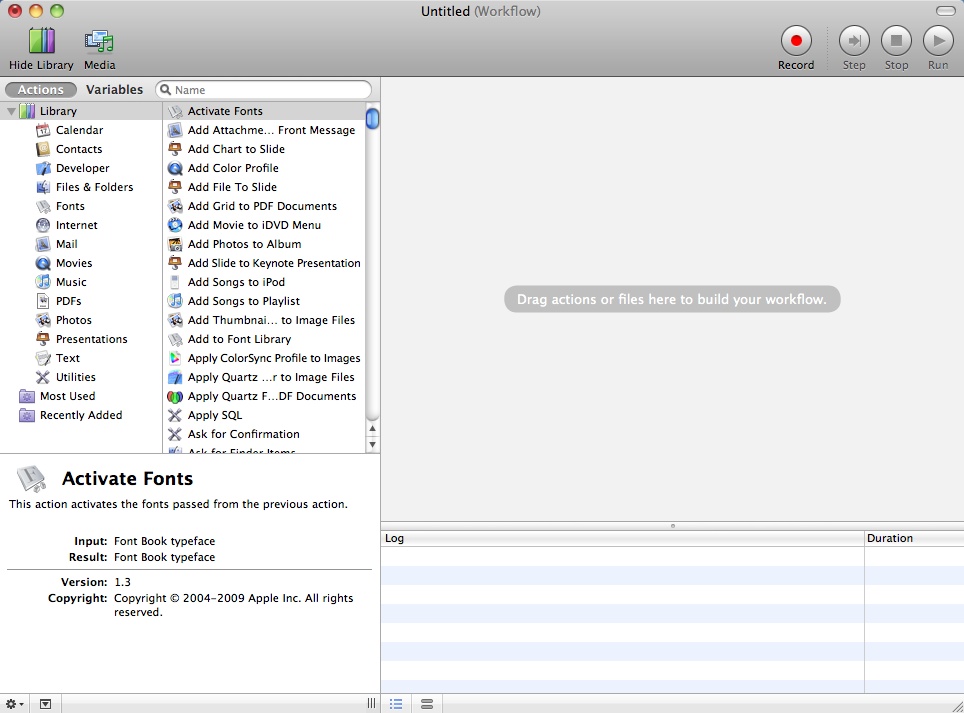
In Step 1 of this batch thumbnail process, start the Mac Automator application by clicking the Applications icon in the Dock, and then click the Automator icon, which looks like a robot. When the Automator displays a startup dialog, click the "Workflow" icon, and then you'll be presented with an Automator window, like this:
(Note that if you want to see a larger version of any of these images, just right-click the image, and then select "View Image".)
2) Drag your original images to the Mac Automator
Before proceding any farther -- make a backup of your original images. Things can always go wrong, so if you like your images, make a backup copy of them in another folder.
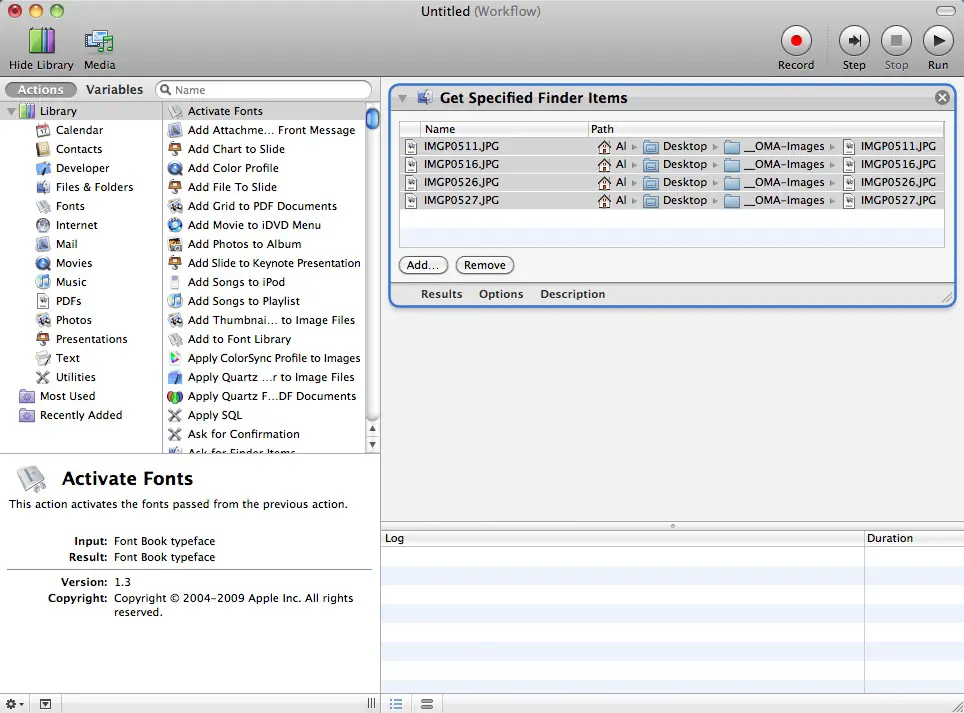
After making that backup, open a Mac Finder window, select the image files you want to create thumbnail images for, and drag those files to the right side of the Automator window. When you do this, your Automator window will look like this:
3) Find and select the Automator "Create Thumbnail Images" action
Next, click the search box on the left side of the Automator window, and type in the phrase "thumb" or "thumbnail". This filters out all the possible Automator actions, so you can easily find the "Create Thumbnail Images" action.
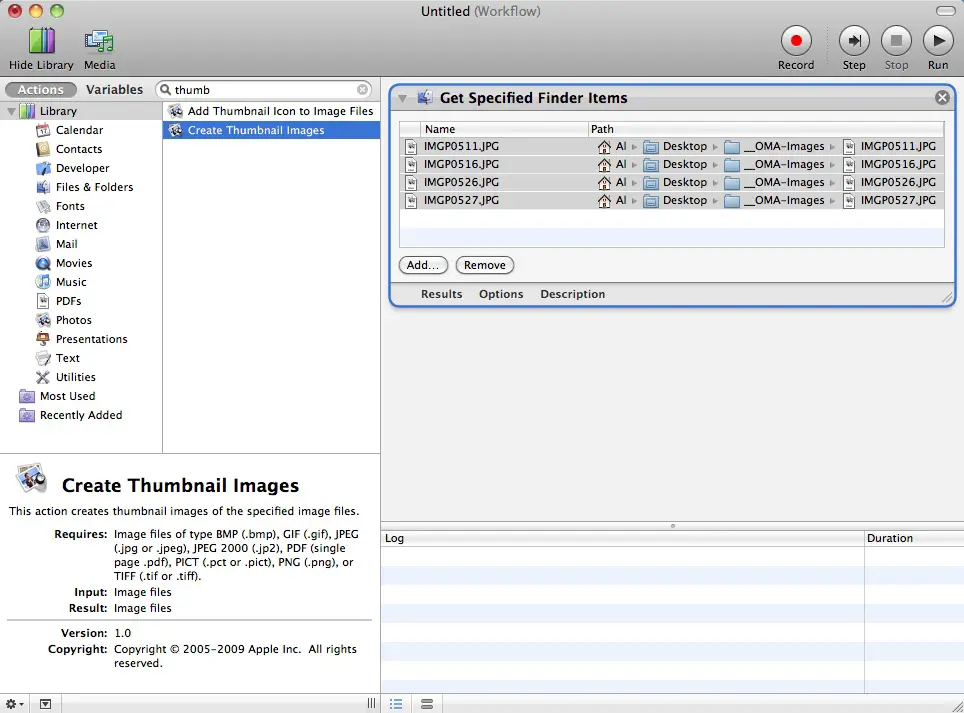
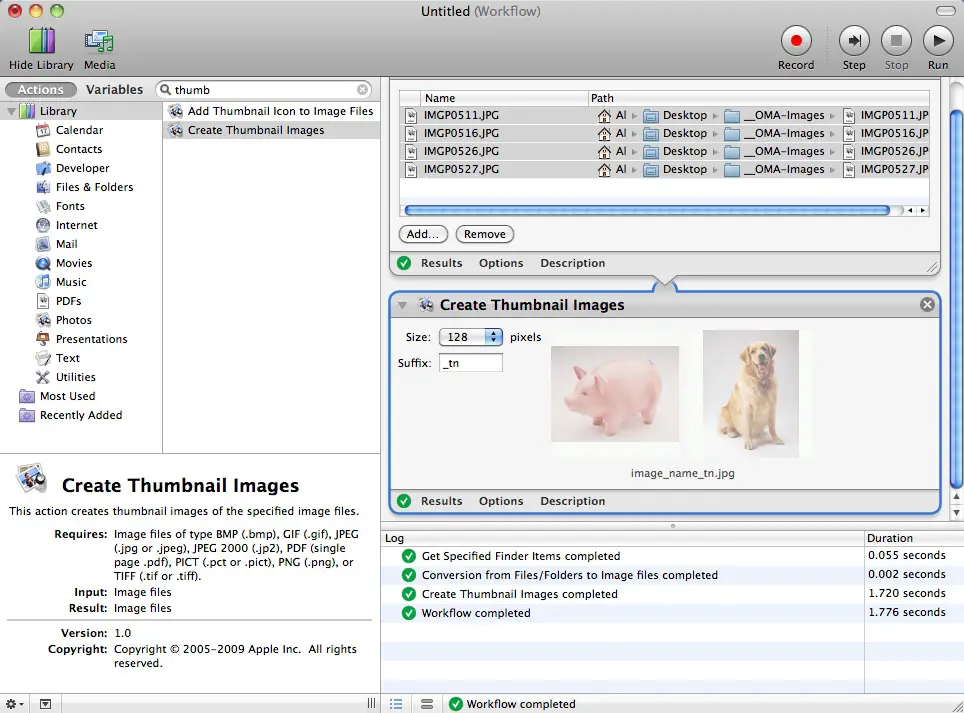
Next, select the Create Thumbnail Images action, and drag it to the gray area on the right side of the Automator window, beneath the list of files you just added. (Or, double-click the Create Thumbnail Images action, if you prefer.) When you do this, your Automator window should look like this:
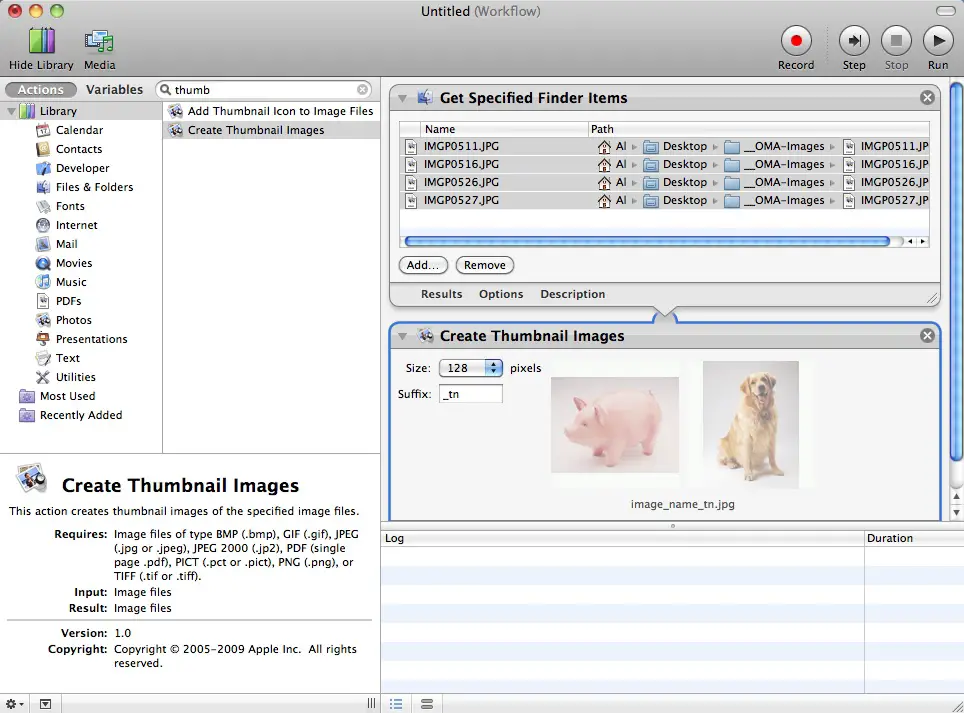
In the "Create Thumbnail Images" panel that was just created, note that the Automator wants to create thumbnails that are 128 pixels in size initially, and it also wants to append the suffix "_tn" to each of your filenames (so a file named Foobar.jpg will have a corresponding thumbnail image named Foobar_tn.jpg after this process is finished). If these settings are okay, you're ready for the last step, otherwise change them as desired.
4) Run your Mac Automator workflow to create the batch of thumbnail images
Now, in the last step of this process, just press the Run button in the upper-right corner of the Automator window to create the batch of thumbnail images from your original images. When you press this button, the Automator will go to work, creating your batch thumbnail images, and you'll see output in the Automator "Log" panel in the bottom-right of this window:
Assuming your Finder window is still open, you'll also see your new thumbnails appear in the Finder as they are created.
That's all you have to do to create a batch of thumbnail images from a collection of initial images or photos. At this point you can just close the Automator, and just press the "Don't Save" button when the Automator asks if you want to save this workflow for future use.
books by alvin
 |
 |
 |
 |