


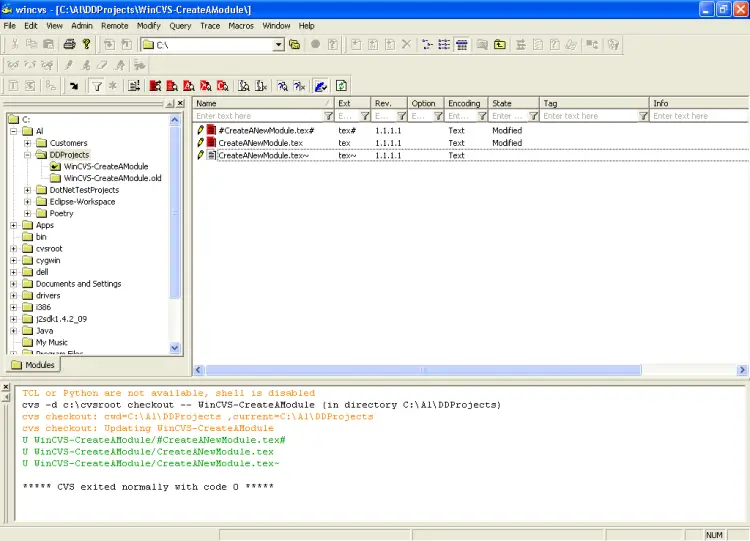
Making changes to your filesI'm not going to get into making changes too much, but I would like to show one thing. Let's assume I just edited a file named CreateANewModule.tex. If, after making that change, I look at the file in WinCVS, I should see the result shown in Figure 11. The red icon next to the filename indicates that the copy of this file I'm working on in my local sandbox is now different than the copy of the file that is in the central repository. This is cool, and it's information you need to know. Saving your changesThis is going a little farther than I wanted to go in this tutorial, but in short, to save my changes to the file CreateANewModule.tex back to the repository, I just selected that file (now shown as the red icon), then click the Commit Changes button in the menu bar. I don't have an image of this button, but it's the button with an icon that looks like an arrow that points up, and then to the left When you click this button a dialog is displayed with a large textarea. In this textarea you should describe the changes you've made to this file, and more importantly, describing why you made these changes. Again, this is a little beyond the scope of this tutorial. I do discuss this in more detail in my other tutorial, How to Use WinCVS. |
|