|


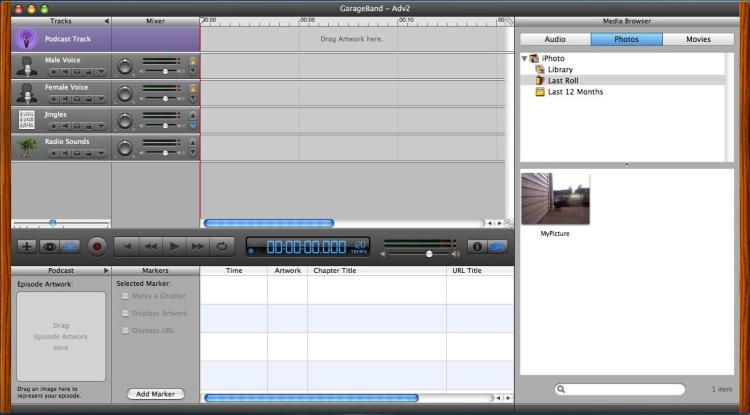
Step 1: Configure the GarageBand environmentFirst, before starting GarageBand do the usual pre-flight check and make sure your speaker volume is turned up so you can hear the recordings we're about to create. (On my MacBook Pro I often turn down the volume and then wonder why I can't hear my podcast later.) Next, start GarageBand. If it displays the New Project Wizard, choose Create a New Podcast. If it doesn't display that window, close your existing project (choosing File, then Close) and that window will appear. Then, when the main GarageBand window appears it initially looks like Figure 1.
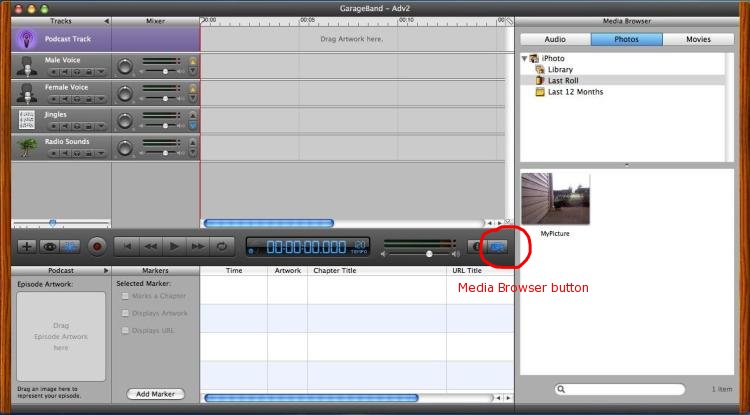
When you look at GarageBand you'll see that the panel on the right is called the Media Browser. For our purposes we don't need this panel, so let's hide it. Just click the View/Hide Media Browser button, which I've highlighted in Figure 2.
Figure 3 shows what GarageBand looks like after I've hidden the Media Browser and made it a little less wide.
Now, to add audio clips to our podcast we need to show a panel called the Loop Browser at the bottom of the GarageBand screen. To do this, click the Loop Browser button (shown in Figure 4).
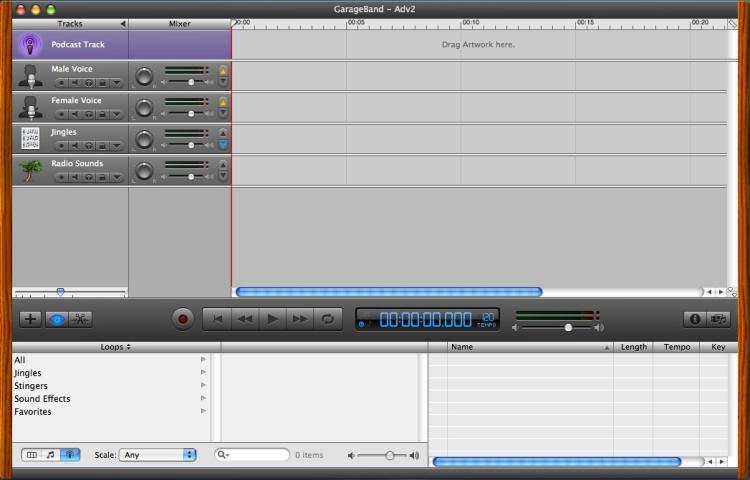
With the Loop Browser displayed your GarageBand window should now look like Figure 5.
Now our environment is set up, and we're ready to add our introductory music.
|