|


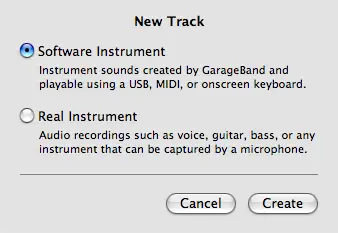
Adding more tracksAs you start creating more complicated podcasts with GarageBand you'll want to add more tracks to give you more flexibility and control. A very common reason for adding a new track is when you want to add an external audio clip to your current podcast. That's the scenario I'm going to set up here. Adding a new track is very simple. The GUI approach is to click the "Add New Track" button (the button below all the tracks with the plus sign on it), after which GarageBand displays the dialog shown in Figure 11.
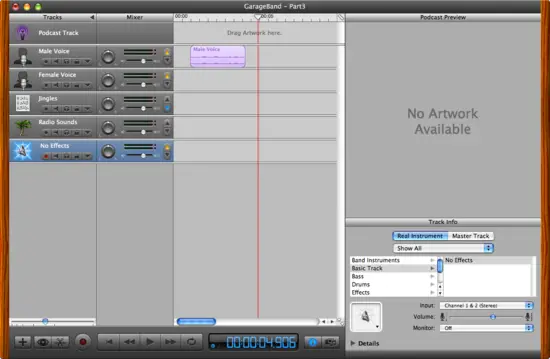
On this dialog I select the "Real Instrument" button, then click Create. This creates a new track in GarageBand named "No Effects", as shown in Figure 12.
A menu-based approachYou can also create a new track by opening the Track menu, then selecting the New Track menu item. This displays the dialog we just saw. A shorter way of doing this is to open the Track menu, then selecting New Basic Track. This doesn't show the dialog, and just creates the track. Either approach gives you the same new track.
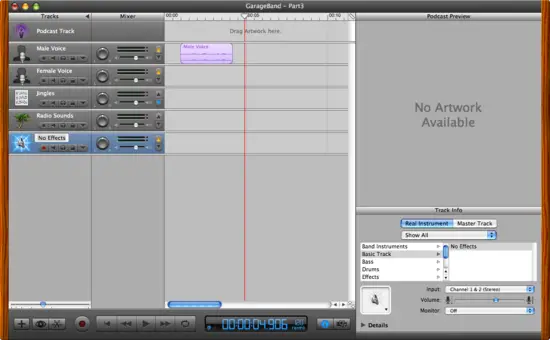
Renaming the trackI like to name my tracks to help keep things organized when the project grows. To do this, first double-click the "No Effects" name field on your new track, which should lead you to a situation like Figure 13, where the text is highlighted and you can type over it.
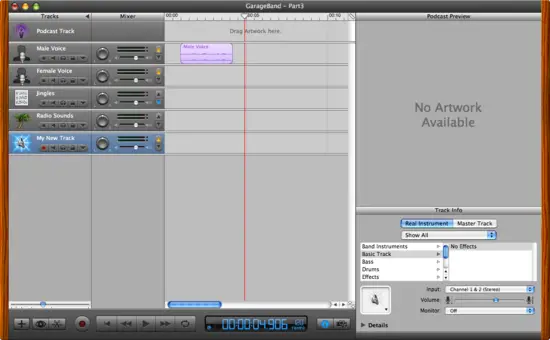
After renaming the field to "My New Track" my new track name is shown in Figure 14.
You can now work with this track as desired. In the next section I'll use this track to add an external audio recording to my podcast.
|