In this article I show how to write a WebSocket server using the Play Framework and Scala. My goal is to create the simplest possible WebSocket server so you can see how the basics work.
To demonstrate the WebSocket server I also created an HTML/JavaScript client. It isn’t quite as simple as the server, but I decided to keep some extra code in the client in case you have problems and need some debugging help.
Tools
I created this project with these tools and libraries:
- SBT 1.3.9
- Scala 2.12.11
- Play Framework (and its SBT plugin) 2.8.x
Assumptions
There are a fair amount of different technologies you need to know to write a client-to-server WebSocket application, so I assume you have this sort of background:
- At least a beginner’s level of experience with the Play Framework and Scala
- Comfort with HTML, JavaScript, jQuery, JSON, and CSS tags
- Some understanding of what a WebSocket is
If you don’t have any experience with the Scala version of the Play Framework, you can read my freely available Play Framework Recipes booklet. It’s a little dated now, but even with the differences in Play, it will help you get up and running.
A note about security
As a brief note about security, this is not a secure solution. As it’s stated on the Play WebSockets page, “the WebSocket protocol does not implement Same Origin Policy, and so does not protect against Cross-Site WebSocket Hijacking.”
I can show how to implement that in a future article, but this article is at the “101, Hello world” level, so I don’t get into that here.
Step 0) What it’s going to look like
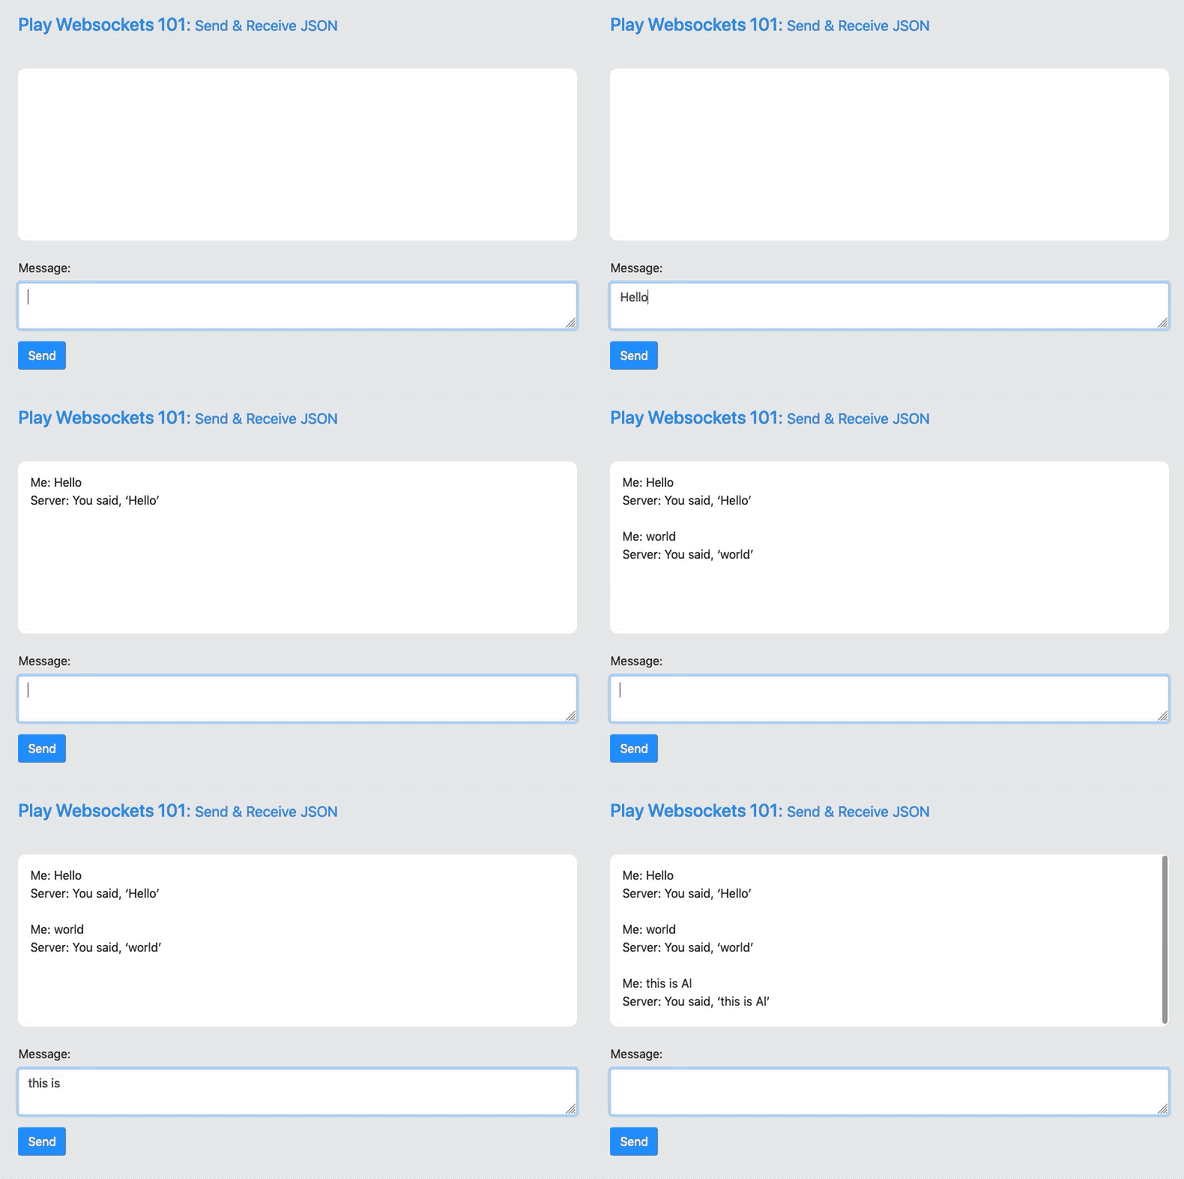
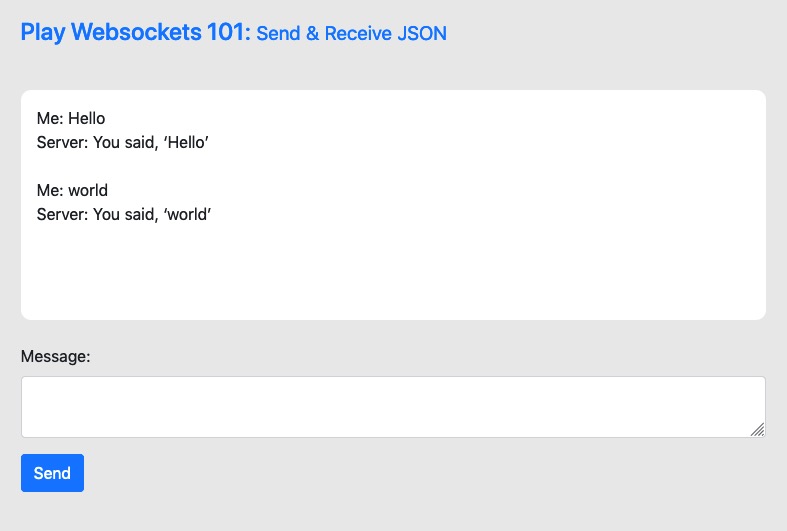
When we’re done creating the project, our browser window will look like this after we’ve sent two messages to the server, first “Hello” and then “world”:
This animated GIF also shows how the HTML/CSS/JavaScript client works (it loops three times and then stops):

The way the app works is that the HTML/JavaScript client sends JSON messages like this to the server:
{"message":"Hello"}
{"message":"world"}
The server in turn sends messages like this back to the client:
{"body": "You said, ‘Hello’"}
{"body": "You said, ‘world’"}
Given that brief introduction, let’s start digging into the details ...
1) Creating the project
I created the project with this sbt command:
$ sbt new playframework/play-scala-seed.g8
That Giter8 template creates this project/plugins.sbt file:
addSbtPlugin("com.typesafe.play" % "sbt-plugin" % "2.8.0")
addSbtPlugin("org.foundweekends.giter8" % "sbt-giter8-scaffold" % "0.11.0")
It also generates a build.sbt file, which I modified slightly to look like this:
name := """play-websockets-1"""
organization := "com.alvinalexander"

version := "0.1"

lazy val root = (project in file(".")).enablePlugins(PlayScala)

scalaVersion := "2.12.11"

libraryDependencies += guice
libraryDependencies += "org.scalatestplus.play" %% "scalatestplus-play" % "5.0.0" % Test
It will also make your debugging life better if you add these two lines to the end of the conf/logback.xml file:
<logger name="controllers" level="INFO" />
<logger name="models" level="INFO" />
That lets you see the output from logger.info("...") statements in the SBT console.
2) Server: conf/routes
Next, I create two entries in conf/routes for my controller, which I name WebSocketsController:
# the page you get when you go to http://localhost:9000/
GET   /     controllers.WebSocketsController.index

# the websocket that will be used by that index page
GET   /ws   controllers.WebSocketsController.ws
3) Server: WebSocketsController
Once you have those routes, it’s time to build the controller. I thought this would be hard, but after reading quite a few resources, I got it down to this:
class WebSocketsController @Inject() (cc: ControllerComponents)(implicit system: ActorSystem)
extends AbstractController(cc)
{
    val logger = play.api.Logger(getClass)

    // call this to display index.scala.html
    def index = Action { implicit request: Request[AnyContent] =>
        Ok(views.html.index())
    }

    // the WebSocket
    def ws = WebSocket.accept[JsValue, JsValue] { requestHeader =>
        ActorFlow.actorRef { actorRef =>
            SimpleWebSocketActor.props(actorRef)
        }
    }

}
A few important points about the controller:
- The Play Framework uses its Guice Dependency Injection to inject the Play/Akka
ActorSystem - The
indexmethod is a normal PlayActionthat displays the views/index.scala.html file (which is shown below) - The
wsmethod is ourWebSocketmethod:- The
[JsValue, JsValue]part of the signature means that it takes aJsValueand returns aJsValue - The purpose of this method is to create an Akka
Flowthat is handled by my actor, which I namedSimpleWebSocketActor - Once the connection is established, any messages received from the client are sent to the actor, and messages sent back to the
ActorRefare sent to the client - This is how full-duplex communication happens between the client and server over the
WebSocket
- The
I trimmed this source code down to show just the basic functionality, but if you look at the source code in my Github project, you’ll see that it’s heavily documented to help explain what’s going on here.
4) Server: SimpleWebSocketActor
As mentioned, my actor is named SimpleWebSocketActor:
object SimpleWebSocketActor {
    def props(clientActorRef: ActorRef) = Props(new SimpleWebSocketActor(clientActorRef))
}

class SimpleWebSocketActor(clientActorRef: ActorRef) extends Actor {
    val logger = play.api.Logger(getClass)

    // this is where we receive json messages sent by the client,
    // and send them a json reply
    def receive = {
        case jsValue: JsValue =>
            val clientMessage = getMessage(jsValue)
            val json: JsValue = Json.parse(s"""{"body": "You said, ‘$clientMessage’"}""")
            clientActorRef ! (json)
    }

    // parse the "message" field from the json the client sends us
    def getMessage(json: JsValue): String = (json \ "message").as[String]

}
A few notes about this code:
- Per the docs, “
Propsis aActorRefconfiguration object.” It’s used to create an instance of mySimpleWebSocketActor. - Inside the
SimpleWebSocketActorclass, if you’ve used Akka actors before, thereceivemethod should look familiar. - Through the Play/Akka wiring, the actor receives the client data from the controller’s
wsmethod. - The data received is a
JsValuetype. - I extract the
messagefield of the JSON using mygetMessagemethod. - I create a JSON string to send back to the client.
- I send the response back to the client with this code:
clientActorRef ! (json)
When I refer to the “client” here, I’m referring to the HTML/JavaScript client that you’ll see next. The data we receive from the client is a JSON string that looks like this:
{"message":"hello"}
The message text is the key, and in this example, "hello" is the value.
Server: Summary
This is about as simple as you can make the server side of the solution. The only reason it’s not the “simplest” possible Play WebSocket example is because I use JsValue instead of String messages. I figured I might as well show JSON, because that’s most likely what you’re going to be using in the real world.
Next, let’s look at the client.
5) Client: index.scala.html
The “client” is an HTML/JavaScript file named index.scala.html, and it’s located in the views folder of my Play application. It’s wrapped by the main.scala.html template — which includes things like the <head> section of the page — and which I show below.
To make things easier, I’ve added some comments to the client code here to explain what’s going on. One thing to mention before getting into the code is that it’s a little more verbose than the server-side code. I was going to trim the code down, but when you run into problems, I found that it’s helpful to keep all of the “debug” code in the client. So if it looks a little verbose, that’s why.
@main("Play Websockets 101") {

    <h1>Play Websockets 101</h1>

    <!-- this is where the client and server output will be shown/appended -->
    <div id="message-content"></div>

    <!-- the textarea and button that make up our form -->
    <form>
        <label for="message-input">Message:</label>
        <textarea id="message-input" ></textarea>
        <button id="send-button">Send</button>
    </form>

    <!-- we use jquery -->
    <script src="https://code.jquery.com/jquery-3.4.1.min.js"></script>

    <-- our custom websocket code -->
    <script>
    var webSocket;
    var messageInput;

    // initialize the WebSocket connection.
    // note that i hard-code the server-side URL here.
    function init() {
        webSocket = new WebSocket("ws://localhost:9000/ws");
        webSocket.onopen = onOpen;
        webSocket.onclose = onClose;
        webSocket.onmessage = onMessage;
        webSocket.onerror = onError;
        $("#message-input").focus();  // put initial input focus in the textarea
    }

    // debug code
    function onOpen(event) {
        consoleLog("CONNECTED");
    }

    // debug code
    function onClose(event) {
        consoleLog("DISCONNECTED");
        appendClientMessageToView(":", "DISCONNECTED");
    }

    // debug code
    function onError(event) {
        consoleLog("ERROR: " + event.data);
        consoleLog("ERROR: " + JSON.stringify(event));
    }

    // this is where we receive a message from the server over
    // the WebSocket connection
    function onMessage(event) {
        let receivedData = JSON.parse(event.data);
        // get the text from the "body" field of the json we
        // receive from the server
        appendServerMessageToView("Server", receivedData.body);
    }

    // append “client” messages to the `message-content` div above
    function appendClientMessageToView(title, message) {
        $("#message-content").append("<span>" + title + ": " + message + "<br /></span>");
    }

    // append “server” messages to the `message-content` div above
    function appendServerMessageToView(title, message) {
        $("#message-content").append("<span>" + title + ": " + message + "<br /><br /></span>");
    }

    // debug; log messages to the browser console
    function consoleLog(message) {
        console.log("New message: ", message);
    }

    // when the window is loaded, call the `init` function
    window.addEventListener("load", init, false);

    // when the “Send” button is clicked, do this
    $(".send-button").click(function () {
        getMessageAndSendToServer();
        // put focus back in the textarea
        $("#message-input").focus();
    });

    // also, act just like the Send button was clicked if the
    // user presses the <enter> key while in the textarea
    $(window).on("keydown", function (e) {
        if (e.which == 13) {
            getMessageAndSendToServer();
            return false;
        }
    });

    // there’s a lot going on here:
    // 1. get our message from the textarea.
    // 2. append that message to our view/div.
    // 3. create a json version of the message.
    // 4. send the message to the server.
    function getMessageAndSendToServer() {

        // get the text from the textarea
        messageInput = $("#message-input").val();

        // clear the textarea
        $("#message-input").val("");

        // if the trimmed message was blank, return
        if ($.trim(messageInput) == "") {
            return false;
        }

        // add the message to the view/div
        appendClientMessageToView("Me", messageInput);

        // create the message as json
        let jsonMessage = {
            message: messageInput
        };

        // send our json message to the server
        sendToServer(jsonMessage);
    }


    // send the data to the server using the WebSocket
    function sendToServer(jsonMessage) {
        if(webSocket.readyState == WebSocket.OPEN) {
            webSocket.send(JSON.stringify(jsonMessage));
        } else {
            consoleLog("Could not send data. Websocket is not open.");
        }
    }

    </script>
}
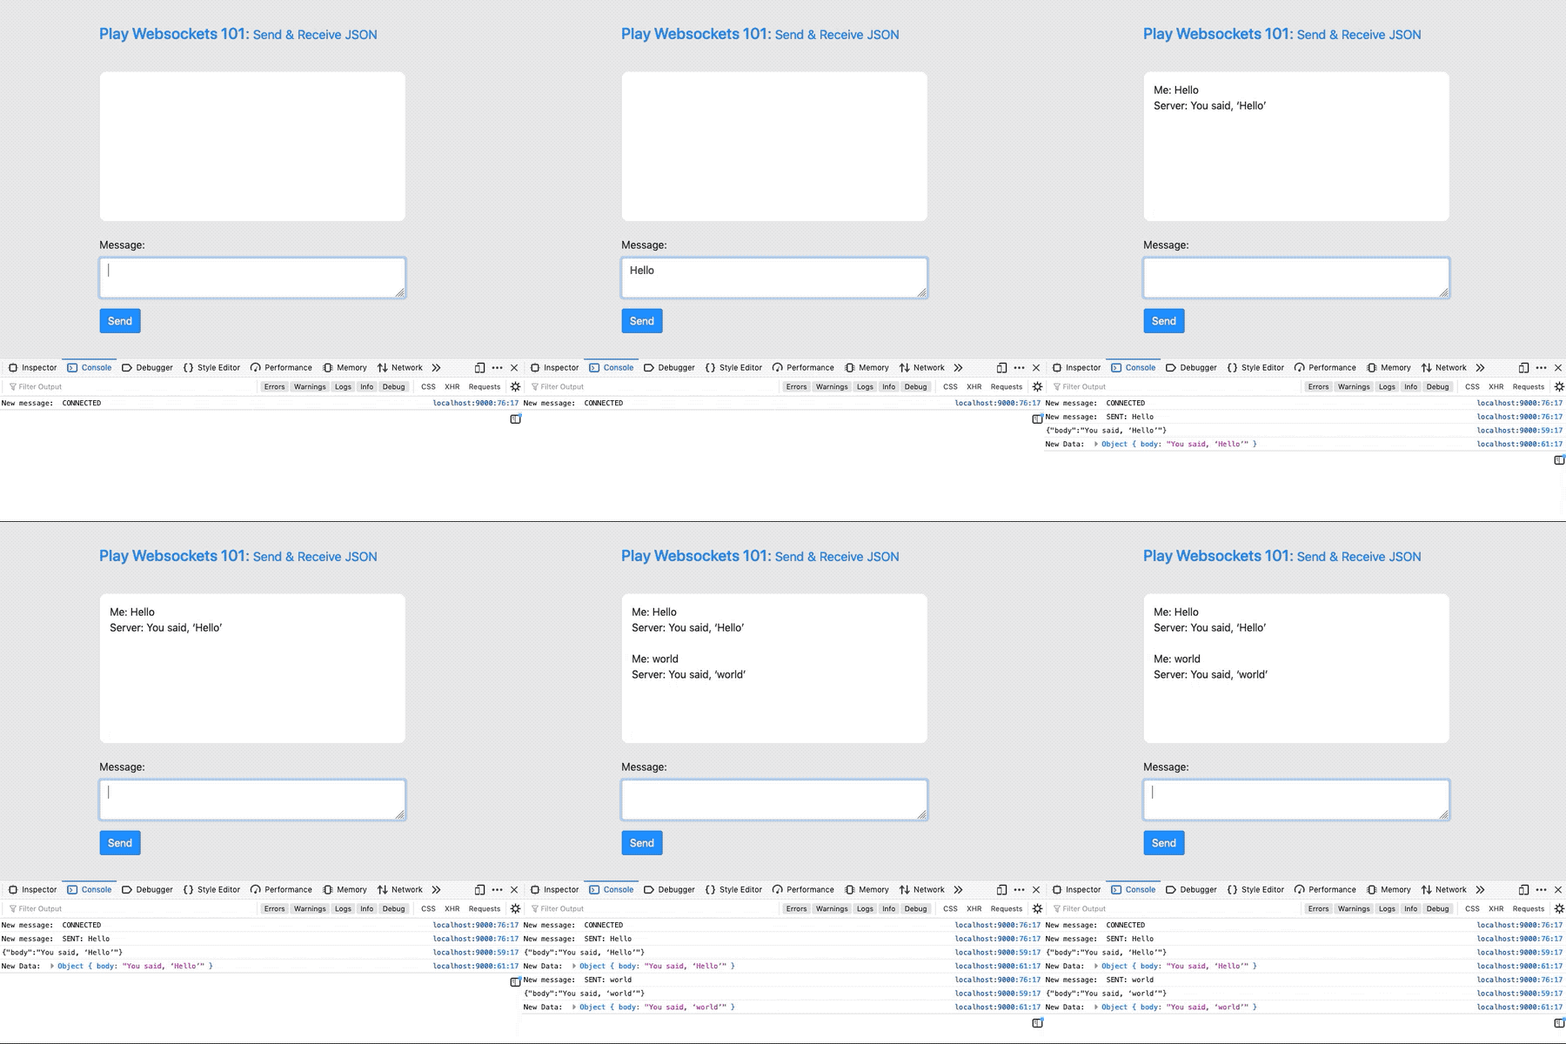
Hopefully all of those comments help explain how the code works, so I won’t add anything else to them here. Here’s another animated GIF that shows how the client works, along with its output to the browser console (this one loops twice and then stops):

6) Client: main.scala.html
If you’re familiar with the Play Framework, you’ll know that it’s common to use a “wrapper” template around other templates to keep the look and feel of a website consistent. To that end, the index.scala.html file calls this main.scala.html template file, with this file serving as the wrapper:
@(title: String)(content: Html)

<!doctype html>
<html lang="en">
    <head>
        <meta charset="utf-8">
        <meta name="viewport" content="width=device-width, initial-scale=1, shrink-to-fit=no">
        <link rel="stylesheet" media="screen" href="@routes.Assets.versioned("stylesheets/main.css")">
        <link rel="stylesheet" media="screen" href="@routes.Assets.versioned("stylesheets/bootstrap.min.css")">
        <link rel="shortcut icon" type="image/png" href="@routes.Assets.versioned("images/favicon.png")">
        <title>@title</title>
    </head>
    <body class="container" style="padding-top:3em;width:60%;background-color:#e9e9e9;">
        @content
        <script src="@routes.Assets.versioned("javascripts/main.js")" type="text/javascript"></script>
    </body>
</html>
Most of is pretty basic HTML/CSS code. One thing to note is that I include the bootstrap.min.css file, from the Bootstrap project. I haven’t used Bootstrap in a while, so I’m not super-comfortable with it at the moment, but it does help to make websites look good on both mobile and desktop devices. Since I don’t know how to do a lot of things with Bootstrap, you’ll see that I have sprinkled some CSS “style” tags into index.scala.html to get the look I want. I’m sure there are ways to do those things with Bootstrap, but learning the nuts and bolts of Bootstrap isn’t a high priority for me today, so I use those style tags instead.
Download the code and work with it
If you want to experiment with the code yourself, you can download it from this Github URL:
There may be some differences between the source code in that project and what I show here — especially I added a lot of documentation to the server-side code in the Github project. But when you run the app, it should look like the image I showed at the beginning of this article.
| this post is sponsored by my books: | |||

#1 New Release |

FP Best Seller |

Learn Scala 3 |

Learn FP Fast |
Acknowledgments
It’s important to note that the HTML/JavaScript client code comes from this baeldung.com article, WebSockets with the Play Framework and Akka (Java). That’s an article about how to use the Java version of the Play Framework. I initially created my own HTML/JavaScript client, but that article included 95% of the client code shown above, which is better than what I had, so I’m grateful to Baeldung for that. And if you’re interested in seeing a Java/Play solution to this problem, check out that article.
While I’m in the neighborhood, here are a few other resources:
- The Play Framework WebSockets page on playframework.com
- Writing WebSocket client applications on mozilla.org
- The “protocol handshake” section on the Wikipedia WebSocket page is helpful
- This Java-WebSocket Github project looks like it might have some useful Java client code
The future
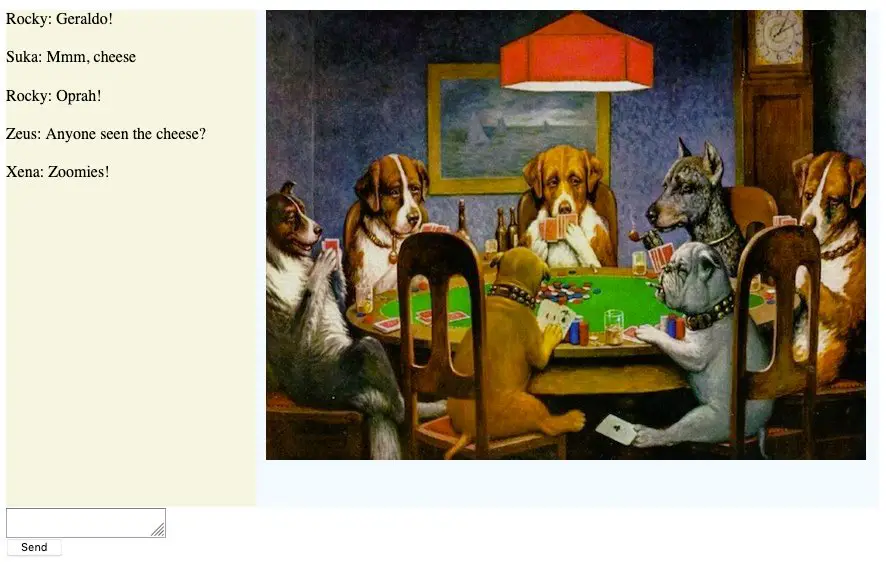
My main motivation for going down this road was to create an “game” environment where I could play an online game with friends and family members while also keeping a “chat” session going on at the same time. To that end I’ve also created a fully-duplexed chat server using the Play Framework and web sockets. Here’s an image of what that looks like at the moment:
In theory, the chat portion of the app will appear on the left as shown, and whatever games we come up with will appear on the right side of the page, at least in the desktop version of the app.
If anyone is interested in a multiuser, fully-duplex chat server using Scala and the Play Framework, I can share the “chat” portion of that code at some point in the future. Until then, I hope this code is helpful.
All the best,
Al

