Mac burn folders - Adding items to the burn folder
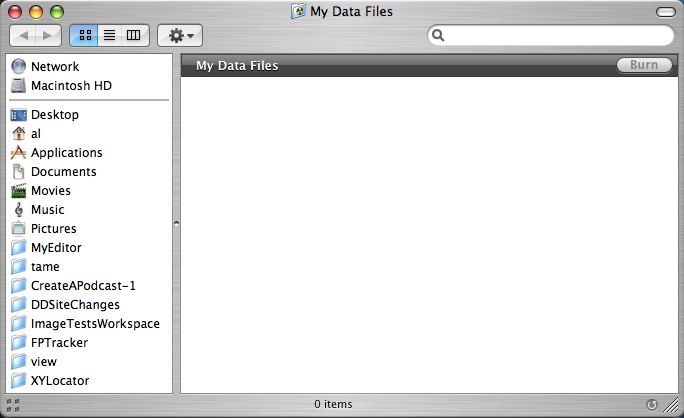
The next step in the Mac backup process is to add the files and folders you want to backup to your Mac burn folder. To do this, double-click the burn folder to open it. As you can see from the figure below, the burn folder looks like a regular Mac Finder folder, with the exception of the dark stripe on the top of the right side, and the Burn button on the right side of that stripe:

Dragging items to a burn folder creates aliases
You can think of your Mac burn folder as being like other Mac folders, but there is one difference. When you drag items to it, you're not copying or moving your files. Instead, you're really create aliases that point to the original files and folders you're dragging into the burn folder.
This is perhaps the most unusual thing about a Mac burn folder, but it's also a very good thing. You really don't want to create a duplicate copy of your data, you just want to burn it to a disk. The creation of aliases here is your way of saying "Here, these are the locations of the items I want to burn to disk."
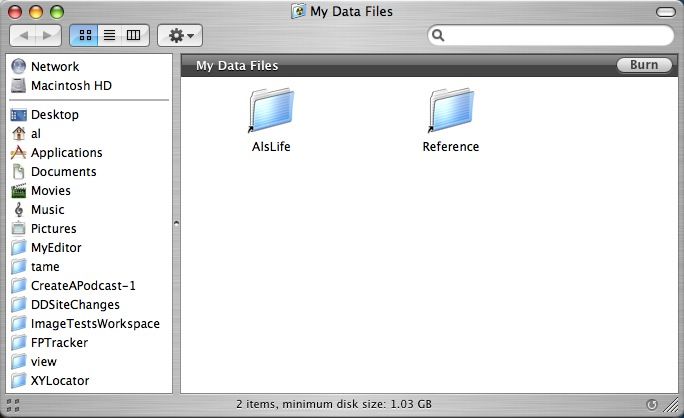
To populate the Mac burn folder, just open another Mac Finder window, and navigate to the files or folders that you want to copy to a CD or DVD. For the purposes of this tutorial I'm just going to copy two folders to my Mac burn folder, one named "Als Life", and the other named "Reference". After doing this my new burn folder will look like this image:

As you can see, my Mac burn folder shows these two new folders as aliases. You can tell they're aliases from the arrow at the bottom-left of the "Als Life" and "Reference" folders.
Another nice thing about Mac burn folders is that they display the size of the original Mac folders I've "copied" here, in this case 1.03GB. I now know that I'll need to use a DVD for my Mac backup, as a CD won't hold that much data.


