Apple Mac ISO burning FAQ: How do I burn an ISO image on macOS?
It seems like lately all I'm doing is burning stuff to a CD or DVD on my macOS system, first backups, and now I'm burning ISO images.
If you've never burned an ISO image to a CD or DVD on a Mac before, it's pretty easy. Here's how I just burned a Fedora ISO image on my MacBook Pro, which is a macOS 10.4.10 system.
Mac ISO burn tip - How to burn an ISO image on macOS
First, of course, is to have an ISO image ready to burn on your local disk, or a network share. Once you have that, just follow these steps. (Note that, to date, I've always burned ISO images to a CD. I assume you follow the same process to burn to a DVD, but I don't know that for sure.)
- Start the macOS Disk Utility (click Applications, then Utilities, then Disk Utility).
- Drag your ISO icon to the left sidebar of the Disk Utility application. (Figure 1 below.)
- On that left sidebar, select the ISO you just created.
- From the menu bar choose Images, then Burn...
- You're prompted to insert a disk, as shown in Figure 2 below.
- After inserting the disk you're prompted one more time to proceed with the burn (Figure 3).
Mac ISO burn - screenshots
Images you'll see during the ISO burn process are shown next.
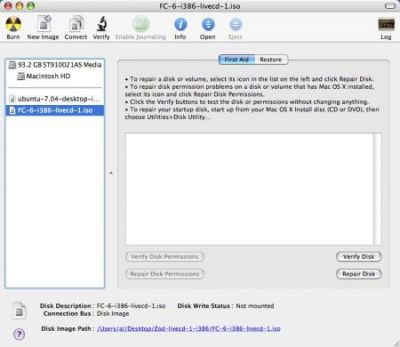
Figure 1: Shows the Mac Disk Utility, with my Fedora ISO file selected.
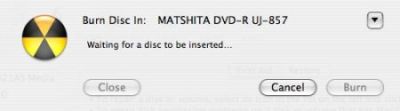
Figure 2: The prompt to insert a disk.
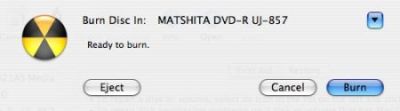
Figure 3: You get one last chance to cancel.
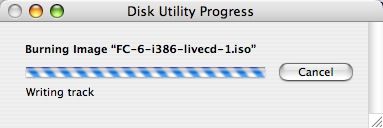
Figure 4: The Mac Disk Utility progress bar as the disk is burned.
All of these ISO images are from the Disk Utility on macOS version 10.4.10.
Mac ISO burning - summary
That's all I had to do to burn an ISO image to CD on macOS. I hope these "Mac ISO burning" steps and images are helpful to anyone else going through this ISO-burning process.
books by alvin
 |
 |
 |
 |